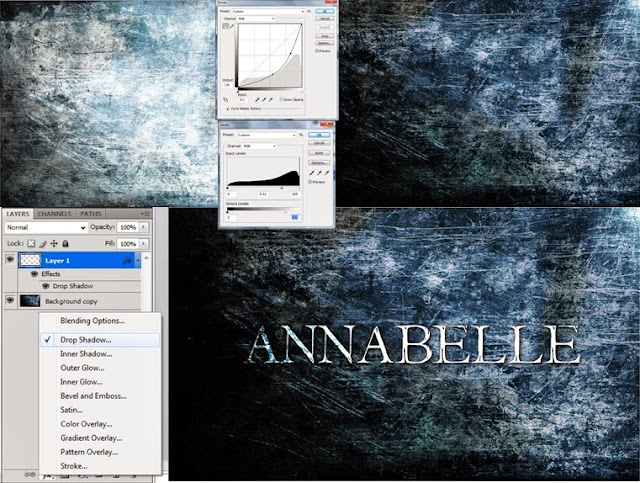
I then opened it up on after effects and made it a 3D layer. I then created a created a new solid black layer and cut out an ellipse using the ellipses tool, and then I set it to subtract, and adjusted the feather to a place where I liked it.I then added the effect CC glass to the layer, which made the image look bumpy and blurry so i adjusted the surface, softness and height until it was back to how it was supposed to look.
I then added a new light (layer>new>light) and then adjusted the settings so that the light type was 'point light' and then adjusted the softness and height so it had the desired effect. I had also adjusted the settings under the 'shading'. I then started to animate it by pressing the 'stopwatch' icon next to the light position.I then linked the annabelle light position using the 'expression pick whip' to the layer 'light 1'. This then brought an 'error' pop-up,which I resolved by typing in 'thisComp.layer("light 1").toComp([0,0,0]);'. I then made the light move across the image by pressing the stopwatch next to 'position' under the 'light 1' layer. Then with my key frame at 00s with the light position far to the left, and then dragged the key frame to the end of the timeline and dragged the light position to the far right.
I had then also managed to to get the shadow to fade in and out with the light position by pressing the stop watch next to all the options under the 'shading' tab under CC effect, and bringing the options down to 0 at the start and the end of the composition. This is the final product:


No comments:
Post a Comment